Showing posts with label Kid-Friendly Acivities. Show all posts

4/26/14

DIY: Edible Paint Recipe For Baby

Hello Again Friends! I found the most exciting edible finger-paint recipe today and I couldn't wait until next week to share it! I usually take the weekends off from blogging, however this was too much fun not to pass along while your weekend is still young!

So I admit, I'm not the most fun parent when it comes to baby and paint. All I see is a big mess and me interrupting my daughter's beautiful painting technique as I constantly swat the paint brush out of her mouth. She's 18 months and still likes to put everything in her mouth, so McKenzie has never used a paint brush until this weekend.  I've seen several scenarios where you can offer your baby condiments or baby food to paint with, which are all great but I found a recipe that I happen to love from Fun At Home With Kids Blog! Mommy, Asia came up with the bright idea to mix yogurt and Kool-Aid! Yes, I know Genius! The best part is there is no sugar added, so you don't have to worry about your baby experiencing an overwhelming case of sugar rush!  The colors are so vibrant and the smell of each flavor just adds to the thrill! The taste may be a little tart for your little one (because there is no sugar), however this could be a little extra entertainment for you as you watch all those cringing faces take shape as your baby samples a color or two...or three. I have to say this was definitely a hit with McKenzie and I didn't have to worry about swatting the paintbrush out of her mouth and interrupting her "taste then brush" painting technique. 

So here is the wonderful, edible art worthy recipe and a few baby-in-a-diaper photos that I'm sure McKenzie will thank me for later!  :)

What You Will Need:
  • White Yogurt- I had some banana flavored baby yogurt on hand that I used
  • A variety of different colored Kool-Aid Packets - $.20 at Walmart
  • (Not Pictured) Separate small containers to mix each color in.
  • Optional: Paper Plate - For Your Painting Pallet (or you could just scoop dollups of each color straight onto the paper that baby will be painting on)
  • Optional: Paint Brush - You could just let baby use their fingers to paint, however I wanted Kenzie to become familiar with a paint brush, since she's never used one :/ 
Edible Finger Paint Recipe:
Mix Together Two Spoonfuls of yogurt & one packet of Kool-Aid 
That's It!

I took these photos after we already had our first trial art session. By this time she was over the paint sampling and wanted to strictly focus on her masterpiece at hand. So no paint covered lips or "cringed baby faces" captured here.

If, like me, you have a fear of baby+ paint combo, try this! It's a lot of fun and you will love seeing your baby's eyes light up with excitement at all the vibrant colors that he/she can actually taste!

3/13/14

DIY: Color Chalkboard Paint- Recipe & Tutorial

Happy Friday! I love it when I get to start my post off with such a positive message, don't you? Friday's are always so exciting, knowing that we have a few days off from the hustle and bustle (...well most of the time).  If you are one of the lucky ones that have time on your hands and would like to partake in a quick and easy project, I have a wonderful recipe that will have your mini-me thanking you all weekend long.

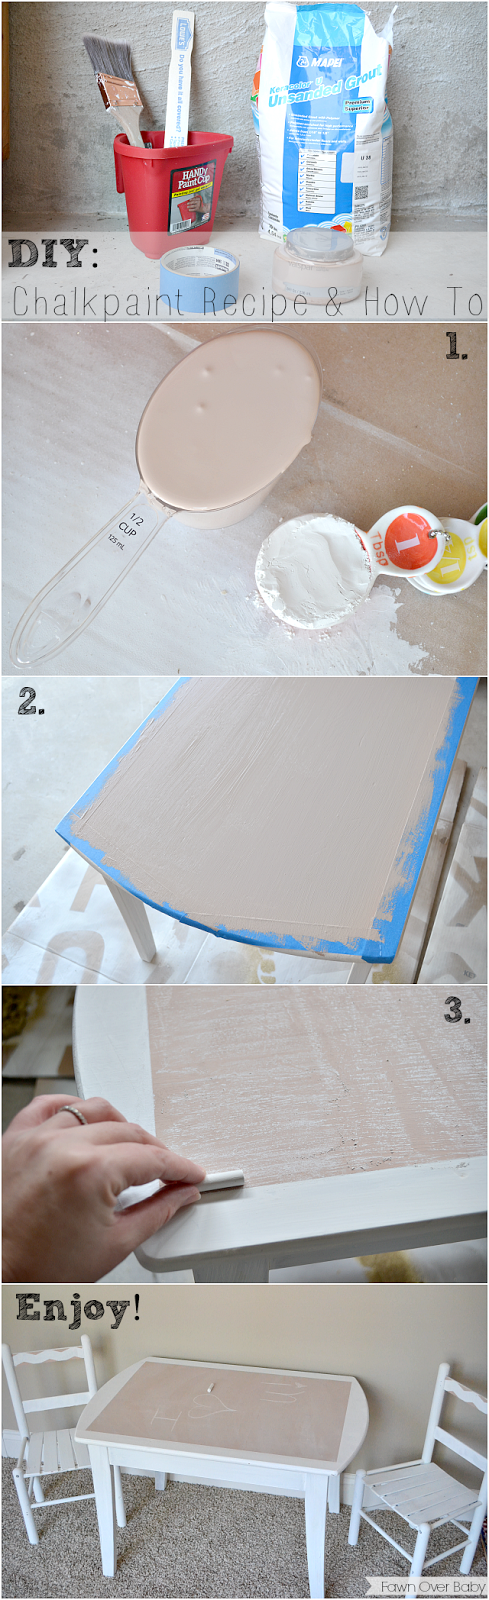
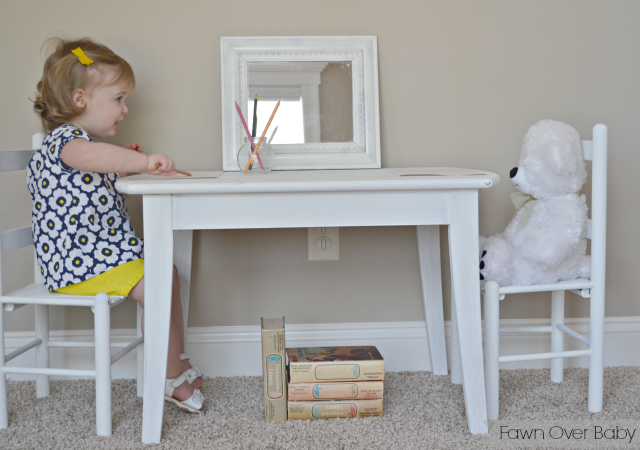
A few weeks ago, I shared a tutorial on how to make your own CHALKpaint when I updated McKenzie's toddler table and chairs. Well today, I decided to kick it up a notch by adding chalkboard paint to the top of her table.  She looooooves outdoor chalk, so I thought why not add a chalkboard to her tabletop and allow for a little indoor chalk play too? Especially when we get those rainy weeks here in Georgia, this would make for the perfect rainy day activity.  The only thing that I was a little hesitant about was the color. I didn't want the normal black or green and I wasn't 100% sold on the color options that I found at my local hardware store, so I did a little research and found that you can easily make your own color chalkboard paint! Thanks to the wonderful ladies over at A Beautiful Mess  and their easy tutorial on how to make your own chalkboard paint in any color, I was able to whip up a batch in no time at all! I had most of the ingrediants from my chalkpaint project, so I only spent a little over $2 (on a sample size paint at Lowes) for this project! yey for savings! It turned out so adorable and coordinates so well with the over all color scheme in McKenzie's room (nursery reveal coming soon!). All you have to do is add the color of choice and your chalkboard paint is ready to coordinate any space in your home! :) So let's get to it!!

How To Make Your Chalkboard Paint in Your Color Of Choice!

Ingrediants:
  • 1/2 cup of indoor paint (any color)
  • 1 tablespoon of unsanded grout (white)
  • Painter's Tape
  • Paint Cup
  • Paint Brush
  • Painter's Stick
Instructions:
  1. Just pour a 1/2 cup of paint into your paint cup & Stir in 1 tablespoon of unsanded grout until smooth
  2. Tape off the area in which you are going to paint (optional). Dry Completely
  3. Condition your chalkboard by going over entire area with a piece of chalk then wipe off.
  4. THAT'S ALL FOLKS! Your Chalkboard Is Now Ready To Display Your Chalk Art!


2/21/14

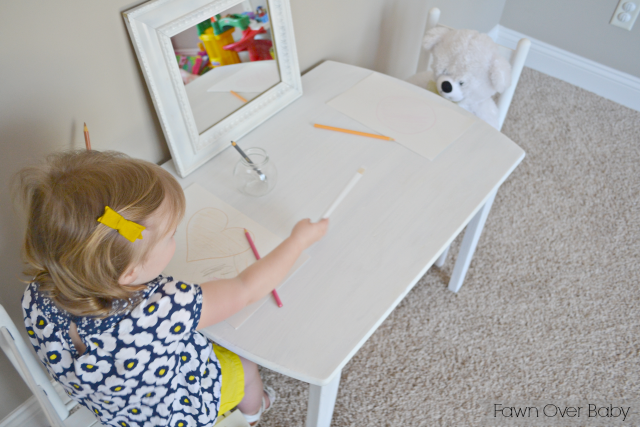
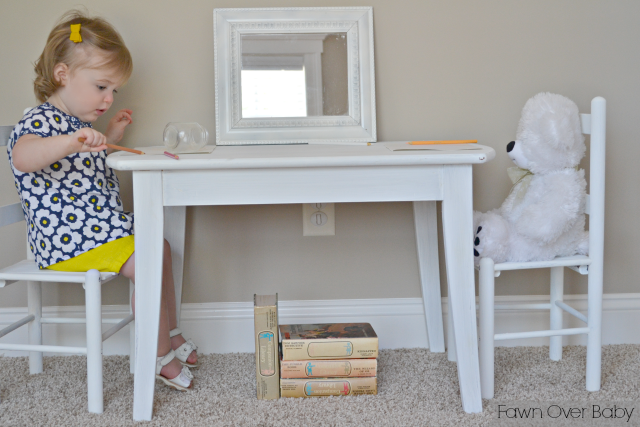
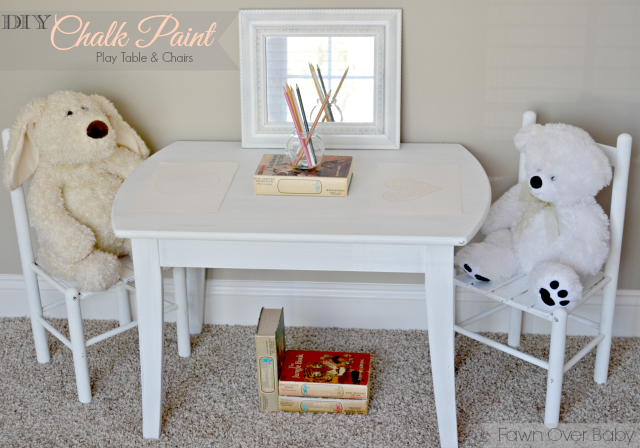
DIY Chalk Paint Recipe: Toddler Play Table For Two

Yey, It's Friday! Just in case you don't have any exciting plans this weekend and you are looking for a fun and easy way to feel positively productive,  I have the perfect project that will hopefully brighten your day and your little one's play space! 

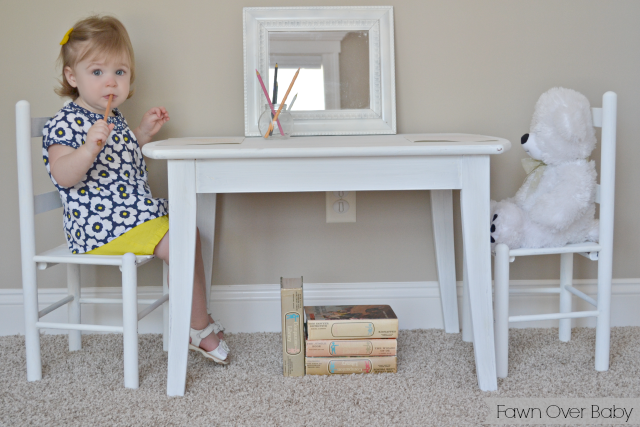
Since we moved into our new home here in Georgia, McKenzie's nursery/room has been a tiny bit neglected (break - is it ok, that I still call my 15month old's room a nursery? - I digress).  Well moving from a townhome to a single family house has wonderfully given us double the space, however, that means more time and money is spent attempting to fill that extra space. One of the rooms that has had to wait a little bit, is McKenzie's room. While I plan on keeping everything from her old nursery, I wanted to tweak it a bit and add a few fun elements. So this week I've decided to focus on adding touches to her room that will help livin' it up a bit and provide her with an exciting space to wake up to and play in every day. 


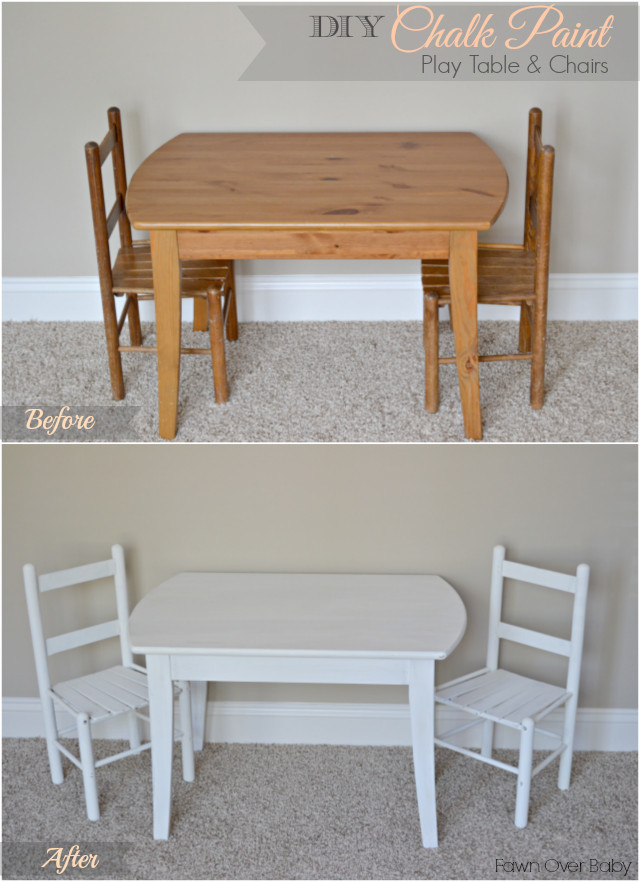
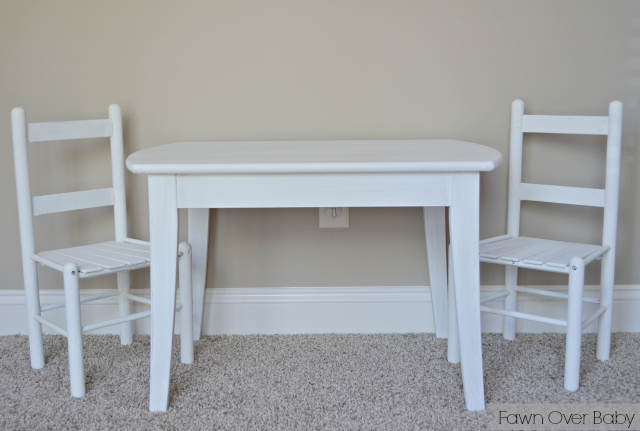
First on my "McKenzie's Room" to-do list is painting an adorable toddler table and chairs my mom picked up at an estate sale last summer.  When I found this little cutie in her garage, I thought it was the sweetest thing ever and I knew Kenzie would think so too! Though the brown wood was in great shape and gorgeous, I knew I would eventually paint it white to help girly it up a bit for our little girl.

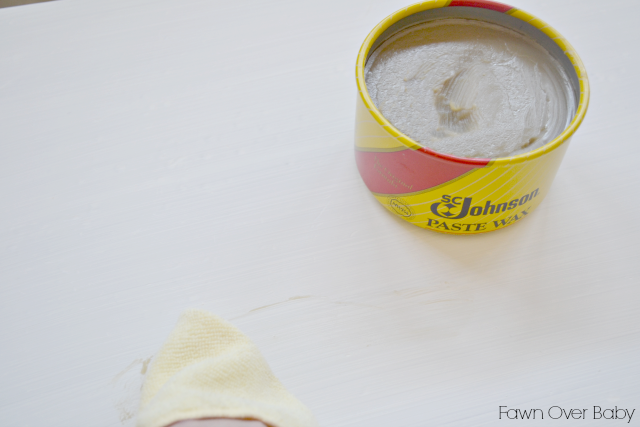
When it came time to paint, my mom suggested I try this new paint called, "Chalk Paint".  She has a few DIY blogs that she religiously visits daily, so it didn't surprise me that she knew all about this amazing new way of painting! "Chalk Paint" is a fun decorative paint that is being used to give furniture (or accent pieces) a worn and washed-out look.  Not to be confused with "Chalk-Board" Paint.  "Chalk Paint" does not turn your surface into a chalkboard. It gives it a "chalk-like" finish, allowing for easy distressing and can be given any type of finish with a wax or glaze. The great thing about "Chalk Paint" is you are able to apply it without sanding or priming! Yes, you heard me correctly. Go ahead, scream..."YEY!!" No matter if your surface has been previously painted or stained, all you have to do is paint a few coats on, let dry then wax (or glaze). That's IT!!


There are a few "chalk paint" brands on the market that you can purchase, however, I decided to make my own. After going through several wonderful recipes at Mommy Is Coo Coo Blog, I went with the un-sanded grout method. 

How To Create Your Own "Chalk Paint" & Update A Play Table Set


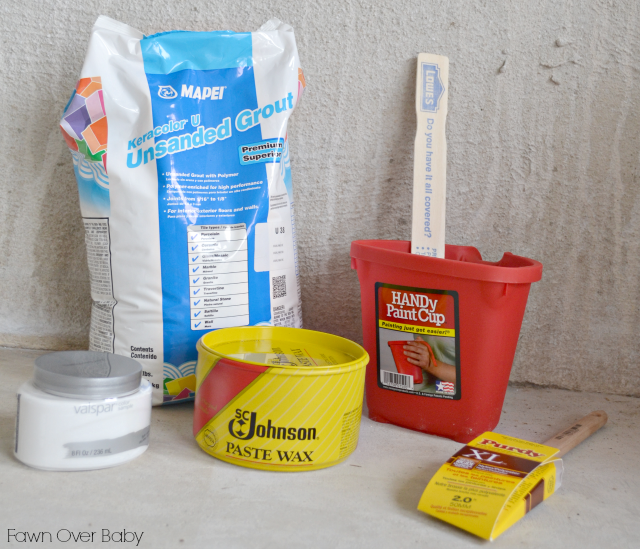
Supplies:


  • Unsanded Grout - I purchased at Lowes
  • Paint Color - I just bought a sample size at Lowes
  • Wax Sealer or Glaze
  • A small bucket or pail to mix
  • A paint stick
  • Paint Brush


  • Instructions:


  • Mix 1 Tbsp of un-sanded grout with a 1/2 cup of water in your pail. Stir until smooth
  • Add 1 cup of paint -your color of choice. I used my entire sample
  • Stir until you get a thick consistency
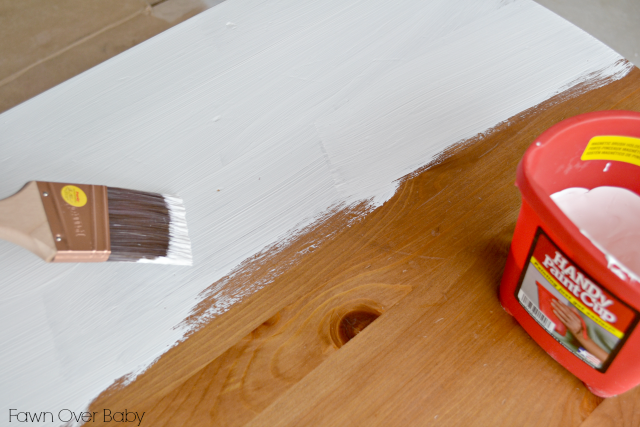
  • Brush onto your surface in the same direction. Immediately apply your second coat.
  • Once all surfaces are dry - You may start distressing as much as you like (rubbing with a wet cloth)
  • Apply your wax until smooth, then wax off!
  • That's It! Your Chalk Paint Project Is Complete!


  • I hope you have equal success at creating your own "Chalk Paint"! I would love to hear your feedback on your attempt! If you tried a different recipe, I would love to hear all about it!

    Have Fun DIYing This Weekend!

    7/5/13

    DIY- No Sew Teepee

    So far, since I started my "Tribal Themed DIY Extravaganza", I've shared a whimsical DIY: Doily Dream Catcher and a fanciful DIY: Baby Feather Headdress. Today, as I come to the end of my "native" obsessed DIY attempts, I conclude with my biggest tutorial yet; How-To Assemble A No-Sew Teepee! That's right, no sewing needed!! For those who have zero needle-crafting skills like me, these two precious words are music to our ears. A traditional teepee was the preferred tent used by the Plains Indians and have now found their way to the top of almost every child's wish list.  I can definitely see why, as they make for the perfect oasis for your infant, toddler and/or school-age child to escape into a magical world of imaginary play or just simply cozy up with a few of their favorite books. The best part about them is how easy they are to set-up and disassemble, allowing for effortless portability.  Whether they be used indoor to add a touch of whimsy to your child's nursery, bedroom or playroom or for that perfect outdoor camping spot in the backyard, they are a wonderfully convenient and hassle free way to entertain your little one for hours! I have wanted to add one to my daughter's play area for the longest time just never found the right time to make the big purchase, so I decided to create one myself (with the help of my handyman husband of course). After browsing several tutorials I found they all used the same method to create the structure, however when it came time to fit the covering I decided to do away with dimensions and just use my eye-balling method. ;) With out further ado, here is my step-by-step on How-To Build A NO-Sew Teepee!


    Supplies:
    Structure:
    * (5) - 11/16" X11/16" X 8ft wooden poles
    * Twine
    * Hand held Drill
    * Tape Measure
    * Pencil
    * Scissors

    Covering:
    * 9X12 Painter's Canvas Cloth(tarp) (This makes a 4ft-5ft standing area inside Teepee Tent, if you want  a higher version, you may want to purchase a larger canvas)
    * 10 count Grommet packet with kit
    * Boot String bundle


    Instructions:

    Part I - Structure:

    1. Measure and use a pencil to center mark 18" from the top of all your wooden poles


    2. Drill a 1/4" hole through each marking on all of your wooden boards

    3. String your twine through each hole, tying a knot on each board as you go. (see photo below)


    4. Stand your wooden poles up, align the holes and tie with a loose knot
    5. Begin spreading the poles out, positioning each one to create your preferred width and height. (You may need to elicit help with this step)


    6. Once you have the teepee shape you want, wrap the top of your teepee with twine as many layers as you need to tightly secure.


    Part II - Covering:
    1. Fold your tarp in half giving you a 6ft X 9ft. For the collar portion, measure a  6" radius from from the tip of the folded point and mark a line from left hem to the right hem,cut along that line, creating a collar to fasten around teepee structure (underneath your twine fastening). For the skirt portion of your canvas covering, measure about a 6ft radius from the tip of your corner fold. Mark a line from the folder edge over to the corner of the open corner edge, creating a semi-circle (This will be the bottom skirt of your covering). 


    ++ Side Note: The bottom of the front opening will hike up a little, it may drape as to resemble a shawl collar cardigan. So do not expect the hem to drop all the way to the floor.

    If you are not a measuring kind of person, you may simply cut the collar out, as seen in photo directly above. Then follow these steps.

    1. (Not Pictured) Wrap your tarp (right side out) around your teepee structure about 6" below your twine fastening. Here you can adjust your height by spreading the legs out for a fuller size or bring in for a more slender/taller teepee.
    2. (Not Pictured) Safety pin the opening shut (or have your helper hold) in position while you draw a line around the bottom "skirt"marking your preferred length all the way around.
    3. Cut along your marked hem ( I would even cut a bit outside your line as it's always easy to trim or tuck under than it is to add length).
    4. Starting at the top of your opening, add 5 grommets on each side. 
    5.Once your tarp is wrapped around your structure, then string your boot strings through your grommets to secure your closure.


    7. Add a cute rug or blanket and lots of pillows for comfy lounging. 

    YOU DID IT!! 
     You have now created your very own No Sew Teepee!
    Your Beautiful Homemade Hide-Away Awaits You, I MeanYour Precious Little Boy or Girl!
    As you see here, I draped my hemmed opening back and pulled the canvas a bit tighter at the bottom.


    Be sure to visit my tutorials on how-to create a  Doily Dream Catcher and Baby Feather Headdress!


    Update:

    Since the (above) post we have moved our teepee into my daughter's nursery! We ended up trimming the top of the teepee down and lowering the twine fastening, just so it didn't overtake the space too much. Here are a few photos of it in her little space :)


    Related Posts Plugin for WordPress, Blogger...

    Blog Design by Get Polished